Design Your Own Mousepad in 5 Minutes (No Photoshop Required)
June 5, 2026
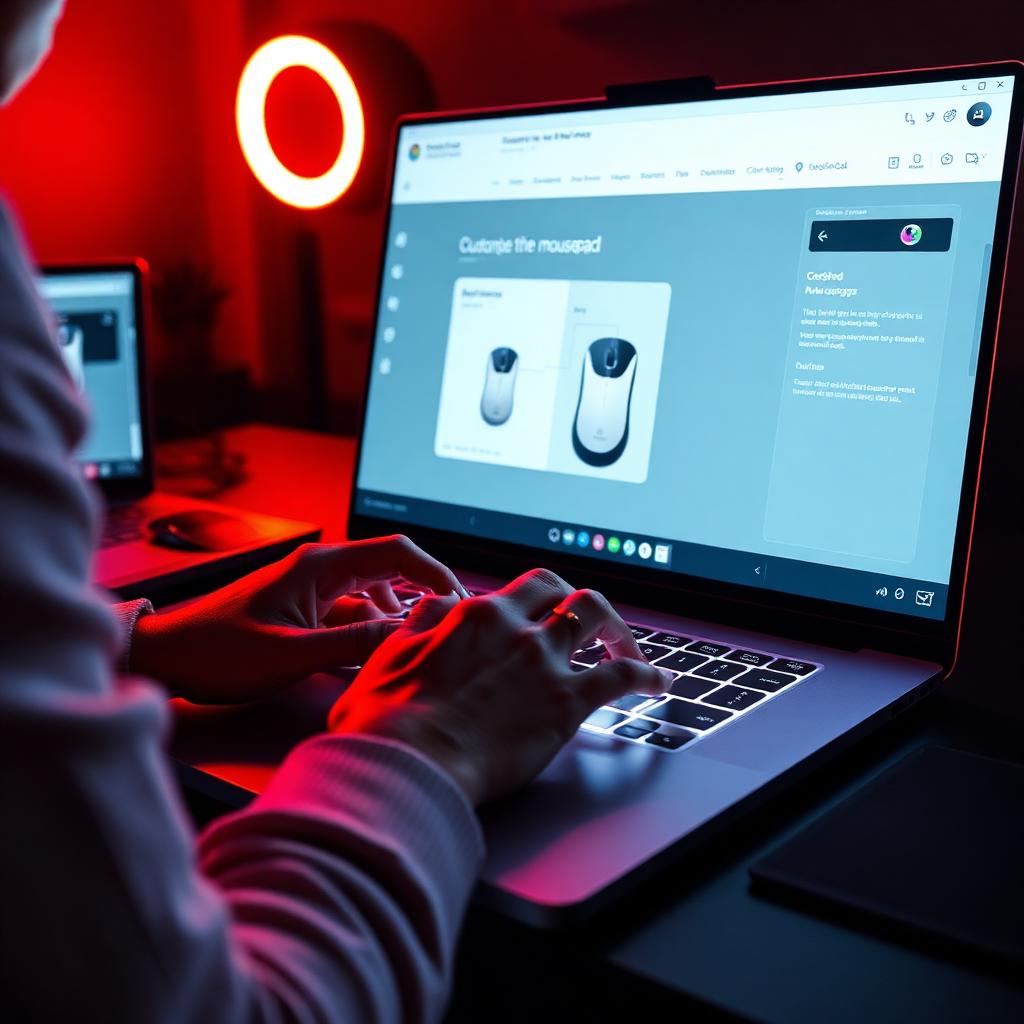
Design Your Own Mousepad in 5 Minutes (No Photoshop Required)
The biggest barrier to a great custom mousepad used to be the design itself. You either needed Photoshop skills, an artist friend, or had to settle for a stock template from 2017. In 2026, none of that is true. Here is the full 5-minute walkthrough.
Step 1: Pick the size before the design
This matters more than people think. Composition for a small 450x400mm mat is very different from a 1200x500mm full-desk mat. We have a complete size guide but the cliff notes:
- XL (450x400mm) — keyboard + mouse, fits most desks
- XXL (900x400mm) — full keyboard + mouse + room to flick at low DPI
- XXXL (1200x500mm) — entire desk surface, premium battle-station
Pick the size first so the AI generates artwork in the right aspect ratio.
Step 2: Write a prompt that actually works
The difference between a generic AI mousepad and a stunning one is the prompt. Three rules:
- Subject first — what is the focal point? "Cyberpunk samurai" not "cool art."
- Style second — anime, oil painting, vaporwave, minimalist line art, cinematic photo, low-poly.
- Mood last — moody, neon, soft pastel, gritty, dreamy.
Good example: "Lone cyberpunk samurai walking through neon Tokyo alleyway, anime style, rain reflections, purple and cyan lighting, cinematic wide composition."
Weak example: "cool anime guy."
We have 50+ proven prompt examples you can steal and modify.
Step 3: Generate, regenerate, iterate
AI mousepad designers are non-deterministic. The same prompt will give you different results each time. This is a feature, not a bug — regenerate 3–5 times and pick your favorite. Then refine the prompt to push the winning direction further.
If the composition is right but the colors are off, add a color directive. If the style is right but the subject is wrong, swap the subject.
Step 4: Upload a reference (optional power move)
Most AI mousepad studios let you upload an image as a style reference. Use this when:
- You want a specific character pose
- You have a brand color palette to match
- You want to remix an existing aesthetic
Reference images dramatically improve consistency.
Step 5: Check the print-ready output
Before ordering, zoom in on the generated image:
- Are there weird AI artifacts (extra fingers, melted faces, illegible text)?
- Does the composition work at the actual mousepad aspect ratio?
- Are the colors what you wanted?
If yes, ship it. If no, one more regeneration usually fixes it.
Common mistakes beginners make
- Putting text on the mat — AI is bad at text. If you need a logo or name, upload it separately and place it after generation, or skip text entirely.
- Over-stuffing the prompt — 12 adjectives is worse than 4 great ones.
- Picking the first generation — it's rarely the best. Generate at least 3.
- Ignoring composition — for an XXL deskmat, your subject should not be dead center; you want negative space where the mouse actually moves.
How much does this cost?
Custom mousepad pricing varies, but expect $49–$89 for the mat itself. AI generations cost credits — most studios give you 5 free on signup, enough to land a great design.
The fastest path: just start
The whole loop takes 5 minutes. Open the studio, pick a size, type a prompt, generate. If you hate the result, that's fine — credits are cheap and the iteration loop is fast.
Keep going
Like this? Get the next one in your inbox.
New journal posts, prompt packs, and artist drops. No spam, ever.